
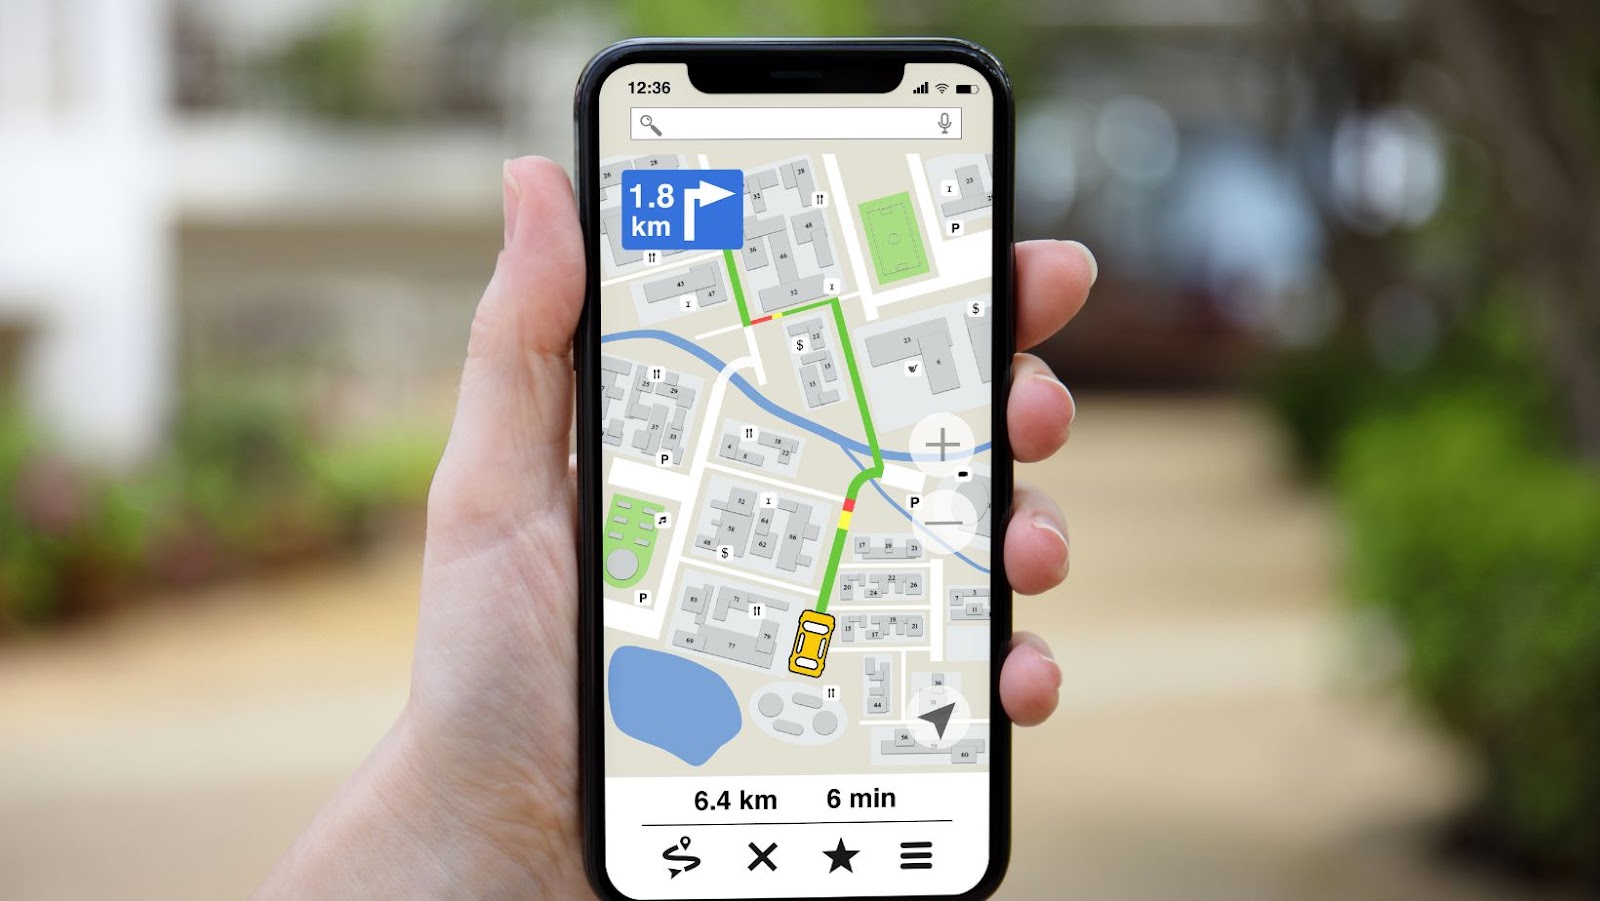
You’re in luck if you’ve recently moved and want your home address updated on Google Maps iPhone. Changing your home address on the app is quite easy, and I’ll guide you through the steps.
First, open the Google Maps app on your iPhone and ensure you’re signed in to your Google account. Next, tap on the menu in the upper left corner, then select “Your Timeline.”
Next, tap the three dots in the upper right corner and select “Settings and privacy.” Then, select “Personal content,” and finally “Home and work addresses.” From here, you can easily change your home address on Google Maps iPhone by entering your new address.
Updating Your Home Address on Google Maps iPhone
Changing your home address on Google Maps iPhone is a simple process that can be done in just a few steps. Here’s how to do it:
1. Open the Google Maps app on your iPhone.
2. Tap the “Menu” button (three horizontal lines) on the top left corner of the screen.
3. Select “Your timeline”.
4. Scroll down to the date you moved to your new address.
5. Tap the “Add a place” button at the bottom right corner of the screen.
6. Enter your new home address and select the correct location from the list of suggestions.
7. Add any additional information about your new home address, such as a name, description, or label.
8. Save the changes by tapping “Done” in the top right corner of the screen.
Now your home address will be updated on Google Maps, and you can also use it for navigation and other features on the app.
It’s important to note that these changes are private and only visible to you, unless you share them with others. You can also edit or delete your home address anytime by following the steps above.
Updating your home address on Google Maps iPhone is quick and easy. Simply navigate to your timeline, add your new address, and save the changes. With this updated information, you can use Google Maps for navigation, location sharing, and more.

How To Change My Home Address On Google Maps iPhone
Changing your home address on Google Maps iPhone is simple and easy – just follow these steps:
1. Open your Google Maps app on your iPhone.
2. Tap the three horizontal lines in the top left corner of the screen to open the side menu.
3. Scroll down and tap on “Settings”.
4. Tap on “Personal content” and then on “Addresses”.
5. Tap on “Home” to edit your home address.
6. Enter your new home address in the “Address” field and tap “Save” in the top right corner of the screen.
7. Your new address is now saved; you can see it in the “Addresses” section under “Home”.
It’s important to keep your home address up to date on Google Maps, as this ensures that you always get accurate directions to your home and that your location is correctly displayed to your contacts and friends.
When changing your home address on Google Maps, double-check that the new address is correct before saving it. You can also add details such as building or apartment numbers to your home address, which will help pinpoint the exact location.
In conclusion, changing your home address on Google Maps iPhone is quick and effortless, saving you time and hassle in the long run. So, if you’ve moved recently or need to update your address, follow these simple steps and enjoy smooth and accurate navigation on your iPhone.
Tips for Ensuring Accurate Location Information on Your Google Maps iPhone:
If you plan to change your home address on Google Maps iPhone, follow the steps in the previous section carefully. But that’s not all! Maintaining accurate location information on your iPhone is an ongoing process. So here are a few tips to ensure that your Google Maps app always has the latest and most accurate information about your location.
1. Keep Your iPhone Location Services Turned On:
The first step to accurate location information is turning on your iPhone’s location services. This allows Google Maps to use Wi-Fi data, GPS, and cellular networks to determine your location. To turn on location services, go to your iPhone’s Settings, click Privacy, select Location Services, and toggle the switch to “on.”
2. Keep Your Home and Work Addresses Updated:
Google Maps can also help you quickly navigate to your home and work addresses, so keeping them up-to-date is important. To add or edit home or work locations on the Google Maps app, follow the steps outlined in the previous section of this article.
3. Clear Your iPhone’s Cache:
As you use Google Maps, the app may store some data in your iPhone’s cache. Over time, this can cause the app to slow down or display outdated location information. Clear your iPhone’s cache by going to Settings > Safari > Clear History and Website Data to fix this.
Following these simple tips will help ensure that your Google Maps app always has accurate location information. With the right location data, you can get directions, find local businesses, and more, all with just a few taps on your iPhone.